Hi !!
Today another bright and sunny day, so i thought let post a fun and bright craft tutorial that will bring the spring inside your home !
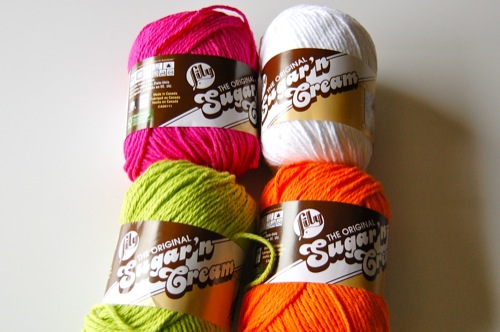
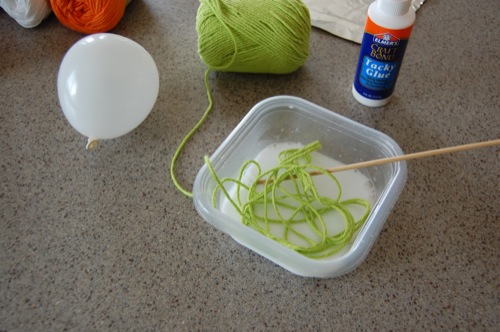
Supplies for Yarn Balls:
- yarn (I used 4 different colors)
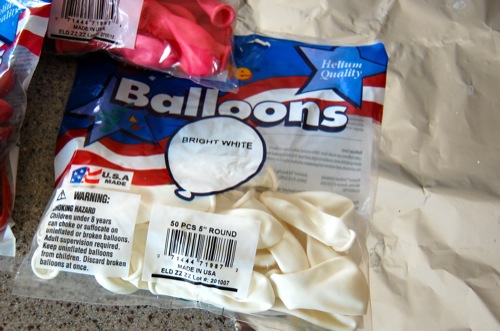
- a bag of balloons: I used 5 inch round balloons to make smaller yarn balls
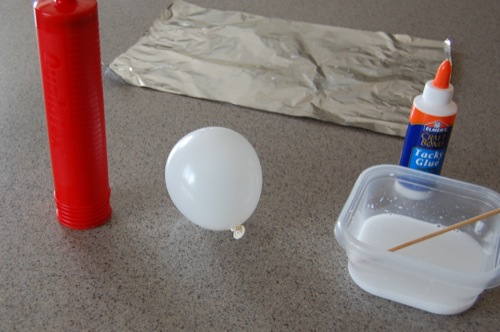
- white craft glue
FYI – this craft is messy! Fun and messy!
Step 1: Make a mixture of glue and water (avoid making it too watery).

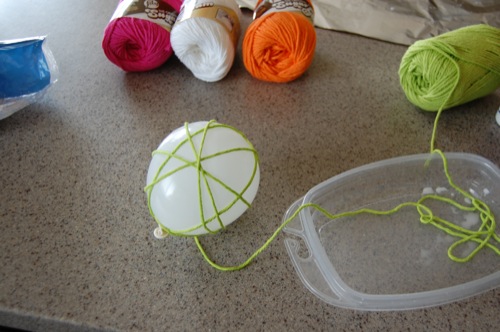
Step 2: Slightly blow up one 5 inch round balloon.
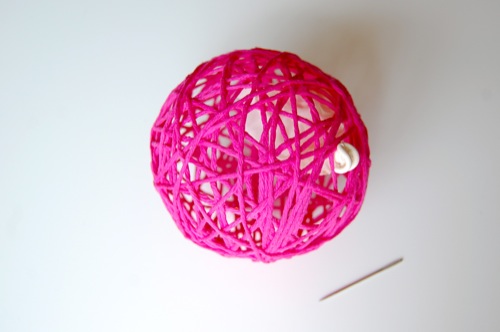
Step 3: Pull out a big bunch of yarn from the yarn ball itself. It is helpful to wrap it around your hand holding onto the end as to avoid tangling of the yarn (I learned this one the hard way – what a mess!) Dunk the yarn into the glue/water mixture making it all wet. Squeeze it out before wrapping.
Step 4: Begin wrapping the wet yarn around the small balloon. There is no method here, just wrap it in every which way.
Step 5: Once you have covered up a good majority of the balloon, cut off the yarn and tuck the end under.
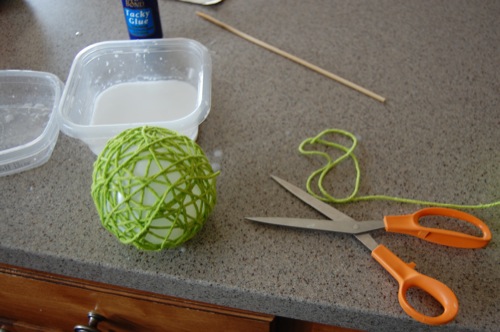
Step 6: Roll the yarn wrapped balloon one more time in the water glue mixture, and then squeeze out any excess.
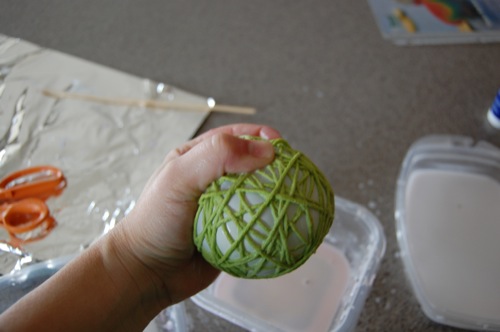
Step 7: Once all your yarn balls are completely squeezed out, let them dry with the balloons inflated inside overnight. This is an important step.
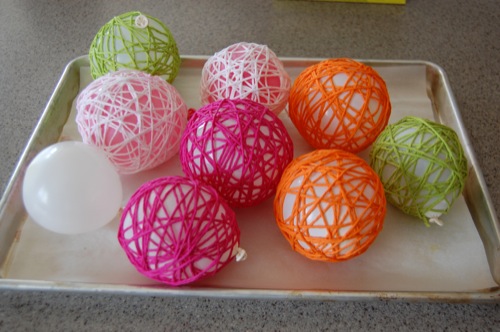
Step 8: In the morning of the next day, the yarn should be stiff and hard. If it is still damp, I would give it a second day. If it’s dry, you can pop the balloon! You should be left with a colorful decorative yarn ball.
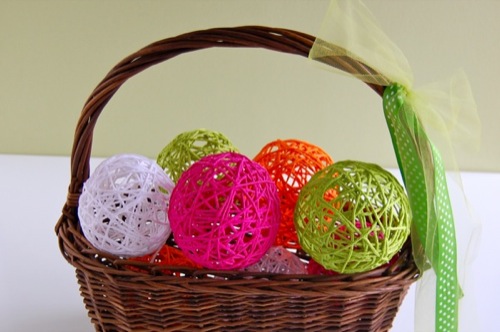
That’s it! Now fill a basket or a large apothecary jar or even a big glass trifle bowl would be fun too!
Tip: Use different shapes of balloons, for example oval, and you will have eastereggs ;-)
Tip: Use different shapes of balloons, for example oval, and you will have eastereggs ;-)
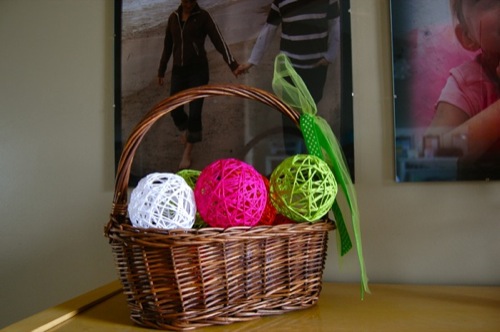
With these bright spring colors, it’s bound to bring a little happiness indoors.
Hapy crafting and have a great sunday !
Miss Polkadot
Tutorial from MakesandTakes